

Hi Friends,
I’m so excited to share with you the the new sew-along, embroider-along series begins this month, August 14th.
Y’all were so much fun to make coasters with and I really enjoyed seeing all your finished projects. #embroideryitsewalong We did coasters for a full year and now it is time to switch things up.
Let me tell you a bit about what you can expect.
Friends, we are going to do machine embroidery on paper. The plan for the next 12 months is to do cards. Unlike the past 12 months where everything coordinated, this time the only common denominator will be the card itself. Each month we will do different techniques to the cards. Some months, like this month, we will actually be stitching on the paper itself. Other months we will make an embellishment to add to the paper card. I’m going to try to give you some techniques and different things to try that perhaps you haven’t tried before.

Lets talk about the card itself. You can purchase blank cards to stitch on. What I am doing is using a regular weight cardstock that is 8 1/2″ x 11″. The package itself does not list a weight of the paper. I’ve purchased this package at Michaels craft store.
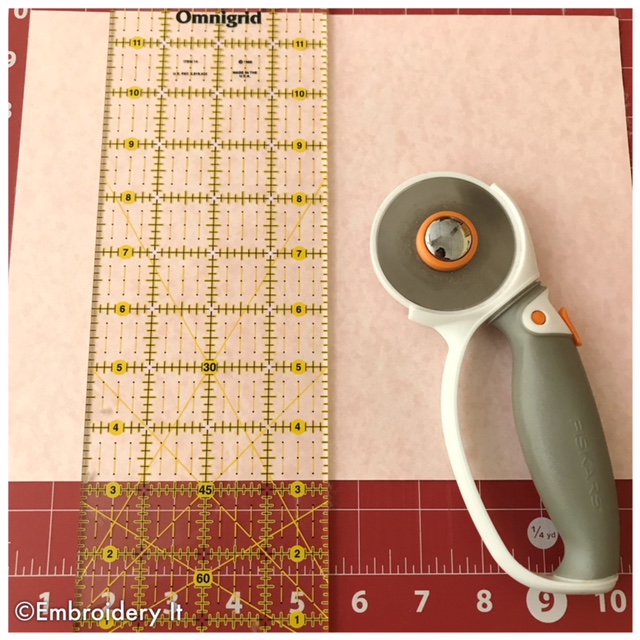
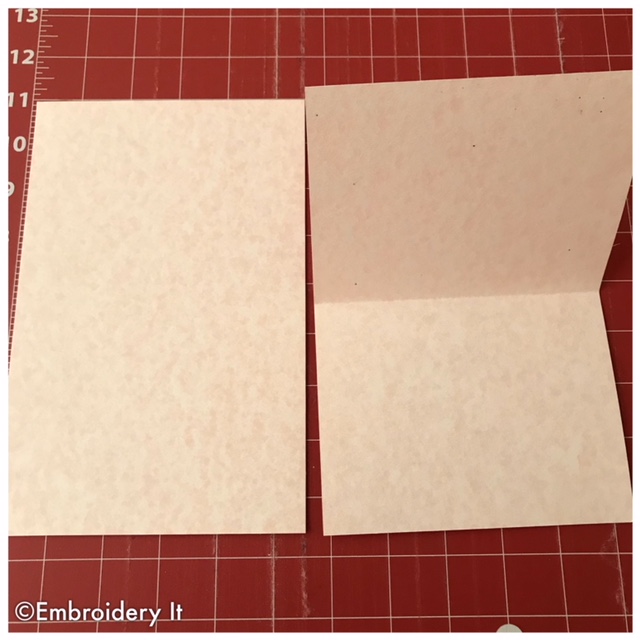
Cut the cardstock in half and then fold the paper in half. This makes your folded card size 5 1/2″ x 4 1/4″. Your card will now fit into an A2 size envelope which is 4 3/8” x 5 3/4”.
Now let’s discuss our needles. When we do a project, like this month, where we are stitching directly on the paper itself, you will want to use a size 75/11 embroidery needle. You don’t need a brand new needle. In fact, use one of your needles that you have used for a bit. When you are changing out a needle to get ready for a new project yet you know there is still some life to it, that is the needle to use. Not one that is burred or bent, but one that has some hours of use already on it. So start saving those needles.
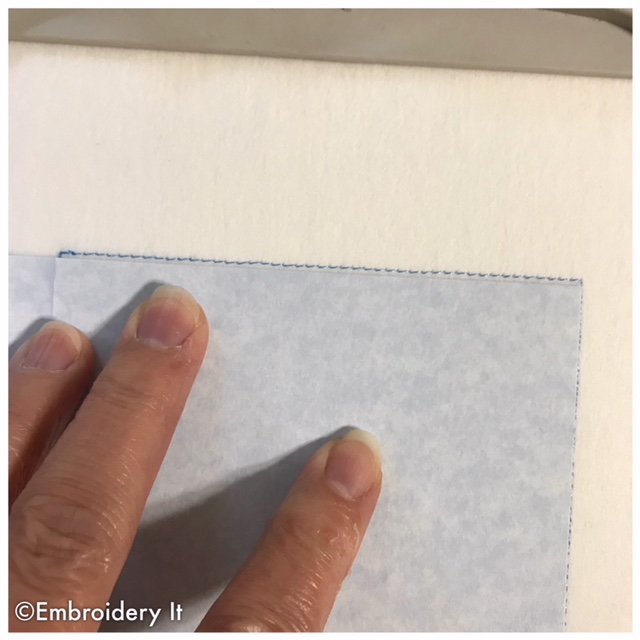
As for the stabilizer you want to use, here is the good part. In my directions, I specify a cut-away stabilizer as we will cut it away on the back side of the card. But really friends, when we stitch on paper, use the stabilizer you don’t like. The card itself is stable. It isn’t going to pucker like fabric. All you need is something to hold your card to the embroidery hoop. Perhaps you bought some stabilizer for a specific project and you know you will never use that type again. Use it. It doesn’t matter if it is wash-away, cut-away, tear-away etc. Use the junky stabilizer you thought you thought you’d never use again. It is PERFECT for this project. So even if you choose a tear-away or a wash-away, we will still be cutting it away from the back side of the card.
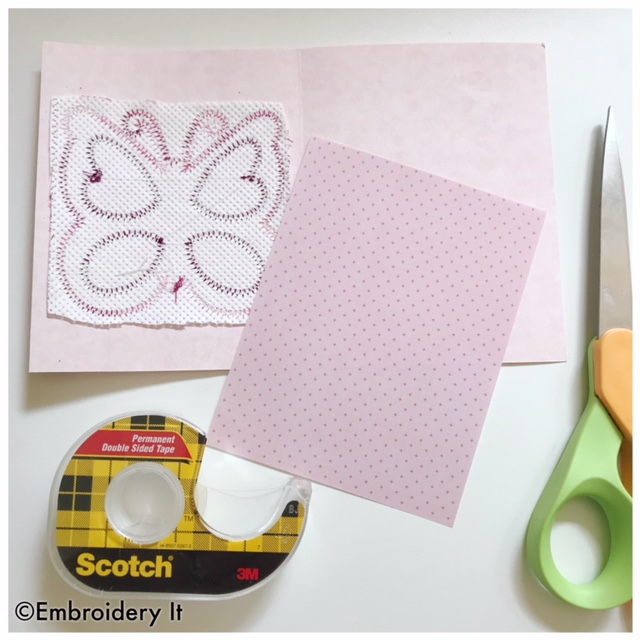
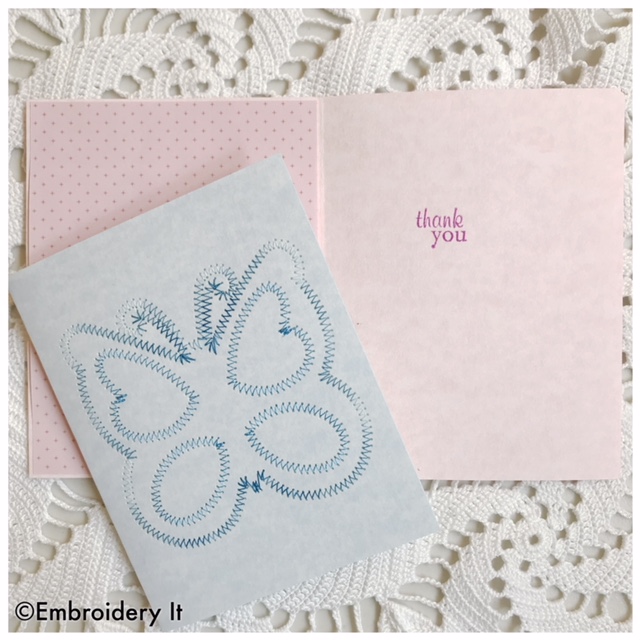
You will also need something to cover up the stitches on the inside of the card. You can use any piece of paper cut to the size of 5 1/4″ x 4″. I’ve used scrapbooking paper but you could use typing paper, construction paper, even a pretty photo cut from an old magazine.
Don’t forget some sort of double sided paper tape.
Next let’s go over the design. There are two sizes in the design and there will be in ALL designs. There is a large size for your 5 x 7 hoop and there is a regular size for those of you with 4 x 4 hoops. If your machine can use a 5 x 7 hoop I recommend this size just for ease, but don’t feel left out if your machine’s largest hoop is 4 x 4. You CAN do the too!
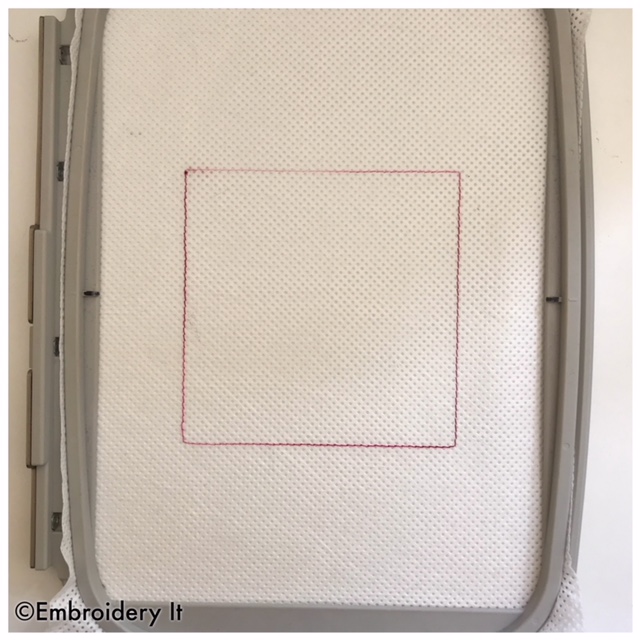
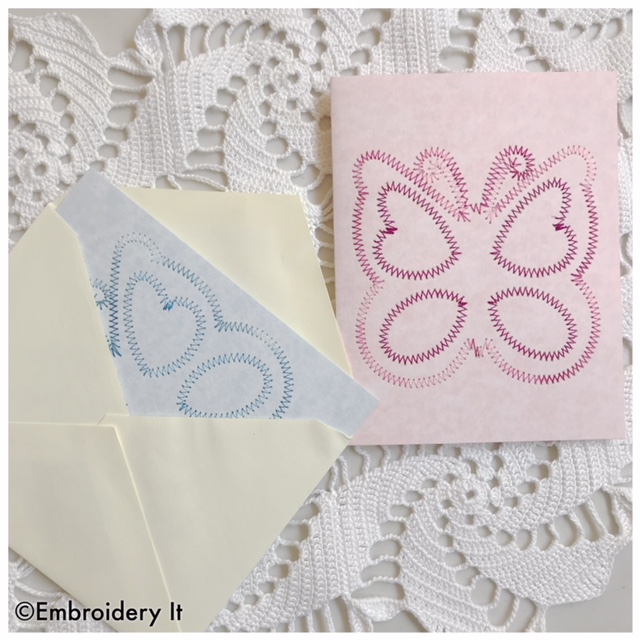
This is what the regular size will look like.
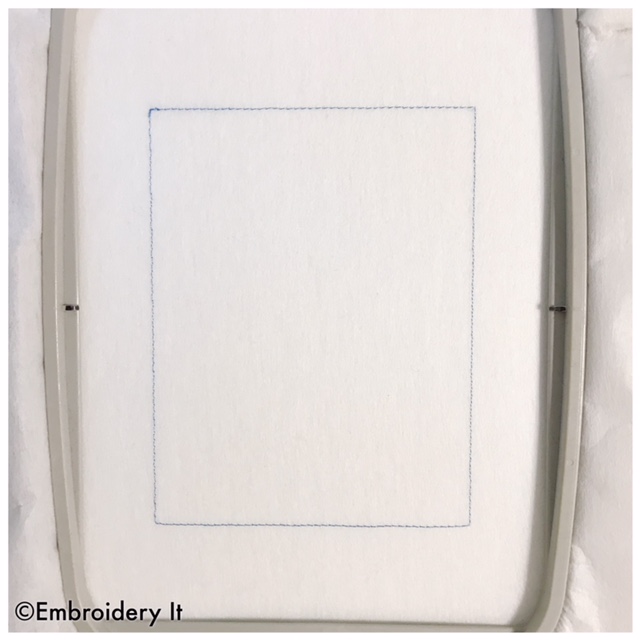
Here is what it will look like for your 5 x 7 hoop.
The butterfly or design itself fits in the 4 x 4 hoop. It is the same size in both designs. What is different is the placement line.
If using a 4 x 4 hoop, you will need to center the design a little more carefully. Holding the hoop up to a window or light will help with this.
If using a 5 x 7 hoop, you can just place the front of your folded card within the placement line.
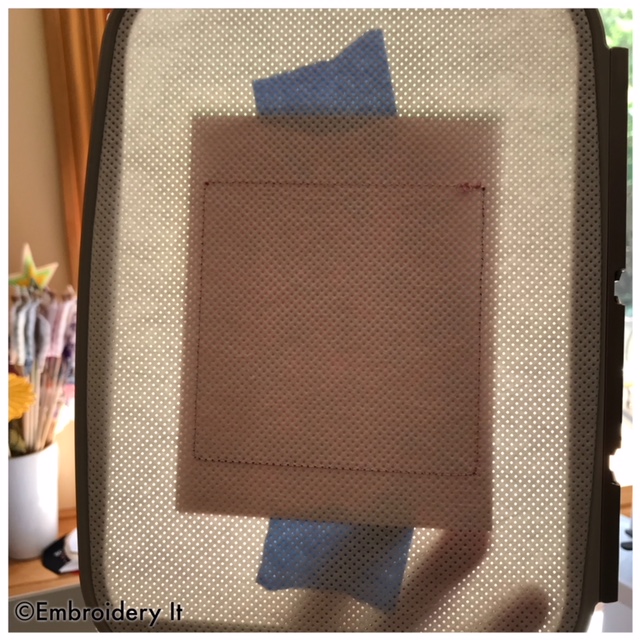
You will use painter’s tape to hold the card in place.
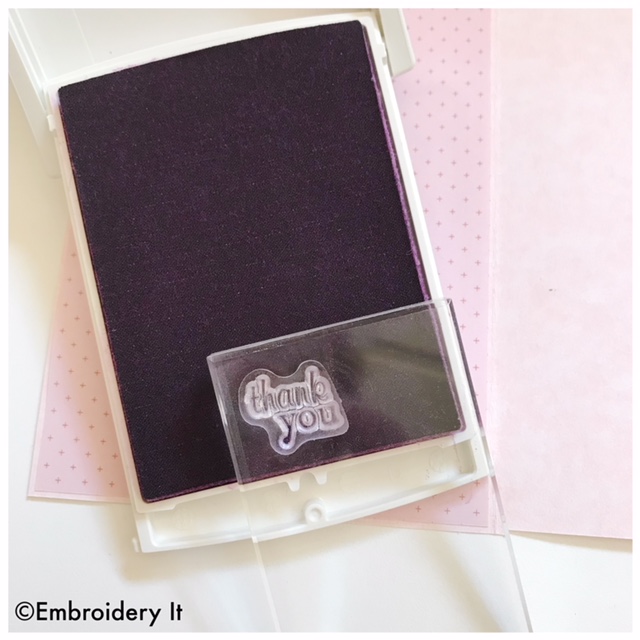
To complete the card, you may embellish it as desired using ribbons, bows, etc. I used a rubber stamp to stamp the inside of my card. You could write in a sentiment or leave it as a blank note card. It is all up to you!
So this gives you the needed preparation information. We will stitch the card together over on the Embroidery It Facebook Page on Tuesday, August 14 at 2:00 PM Eastern time.
The final piece of information you need is where to get the design. You can get the design FREE right HERE. It will remain free throughout the month of August. After that point it will be for sale in the Embroidery It store and we will be doing another project.
Hope to see you all on the 14th!
Nancy
be creative daily and live life beautifully